
Looking for a clever way to gift wrap a book? All you need is gift wrap, tape, scissors, and this step-by-step tutorial.
This week, we had our first annual holiday party for the book club at my house.
It was amazing.
We ate and talked about books and traveling, and the year that was.
I think book club people are the very best kind of people in the world.
And then?
We had a book exchange. We each wrapped up a book and put a description on the outside of the kind of book it was (just enough clues to help with choosing a book sight unseen). Then we drew numbers to go in order of choosing a book from the stack.
I wrapped up one of my books, and I wanted it to be extra cute. Don’t tell the other book clubbers, but I’m a little competitive, and I wanted someone to choose my book first.. And I thought if it was wrapped extra cute, then it would have a better chance of being chosen.
So I found the CUTEST way to wrap a book.
And I’m sharing the step-by-step today.
Let’s get wrapping.
(Total aside: if you are looking for a gift for someone on your list? I have all 10 of our books in the shop, and I can personalize the message inside for someone special. You can see all our books here.)
Before I show you the how?
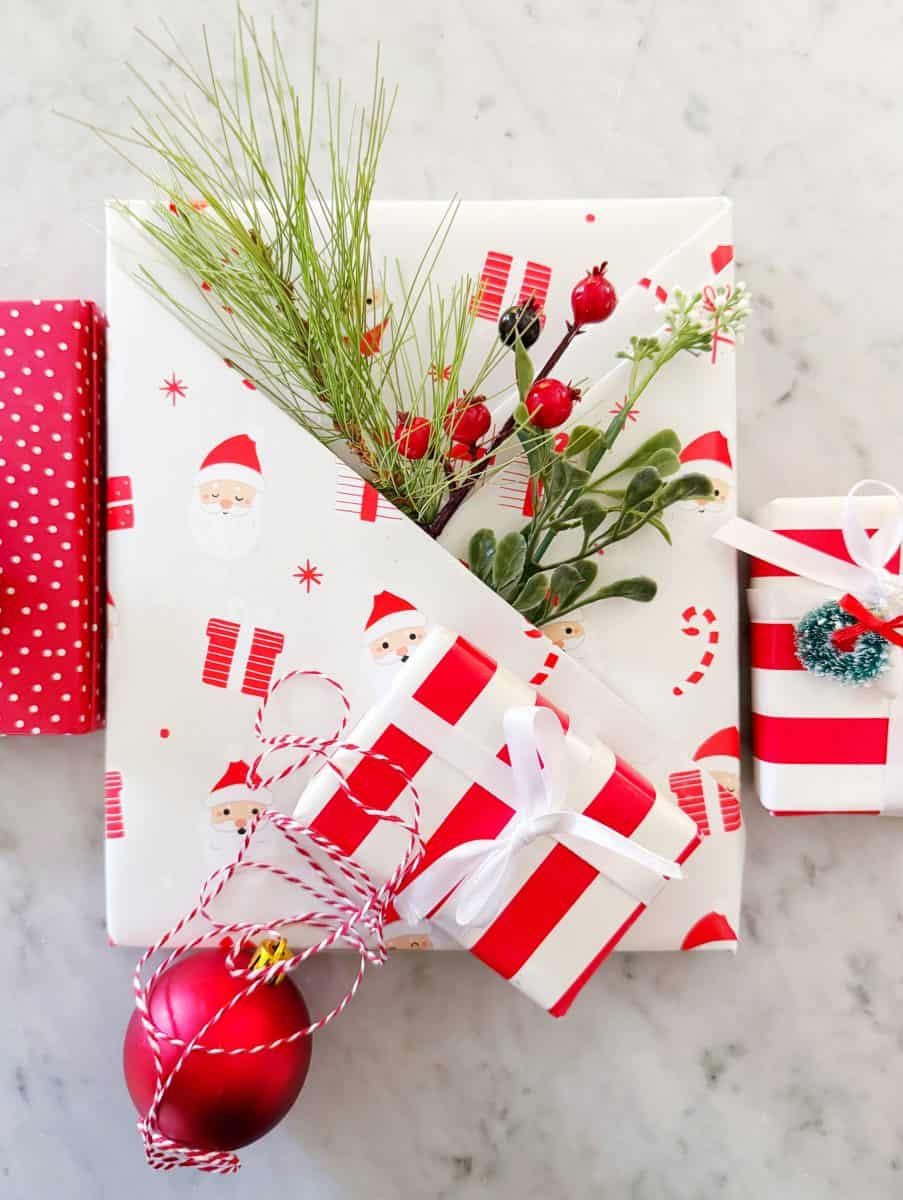
Let me show you the book I wrapped for the book exchange.
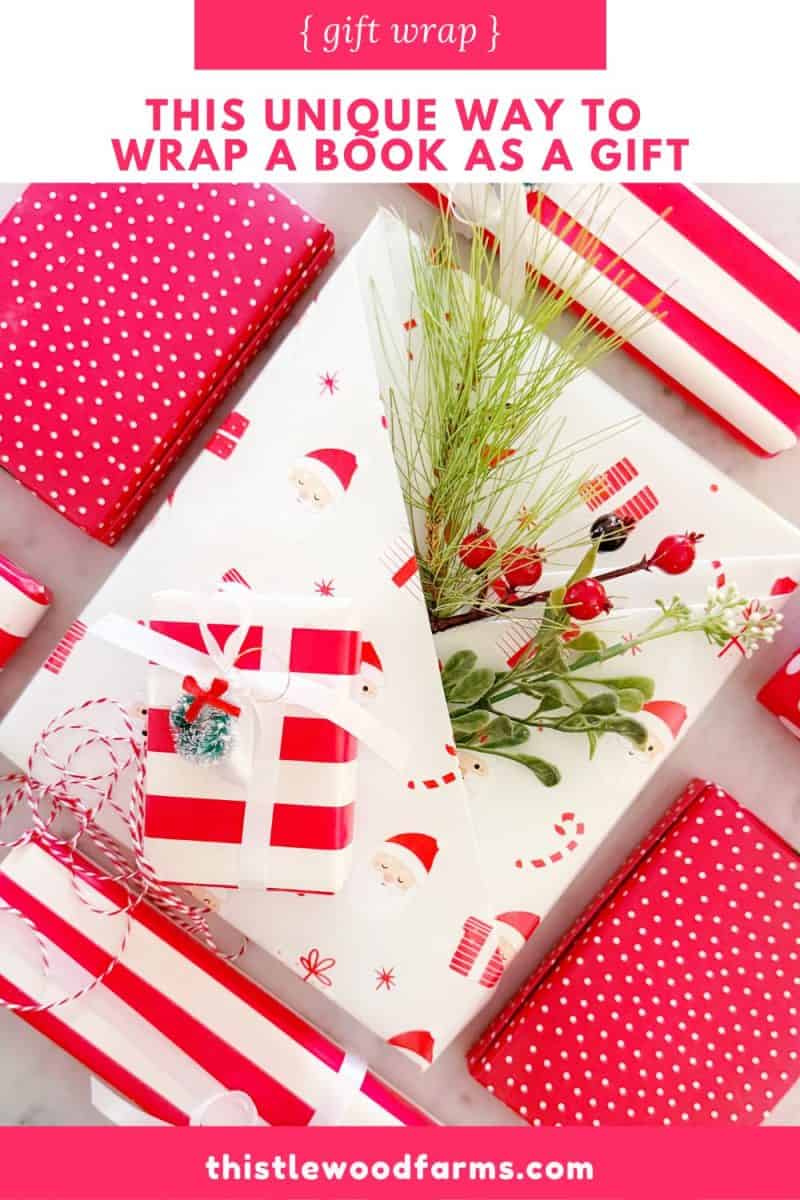
All you need is basic gift wrap, but you wrap it so there are pockets in the front. That way, you can tuck little surprises into the wrapping paper.
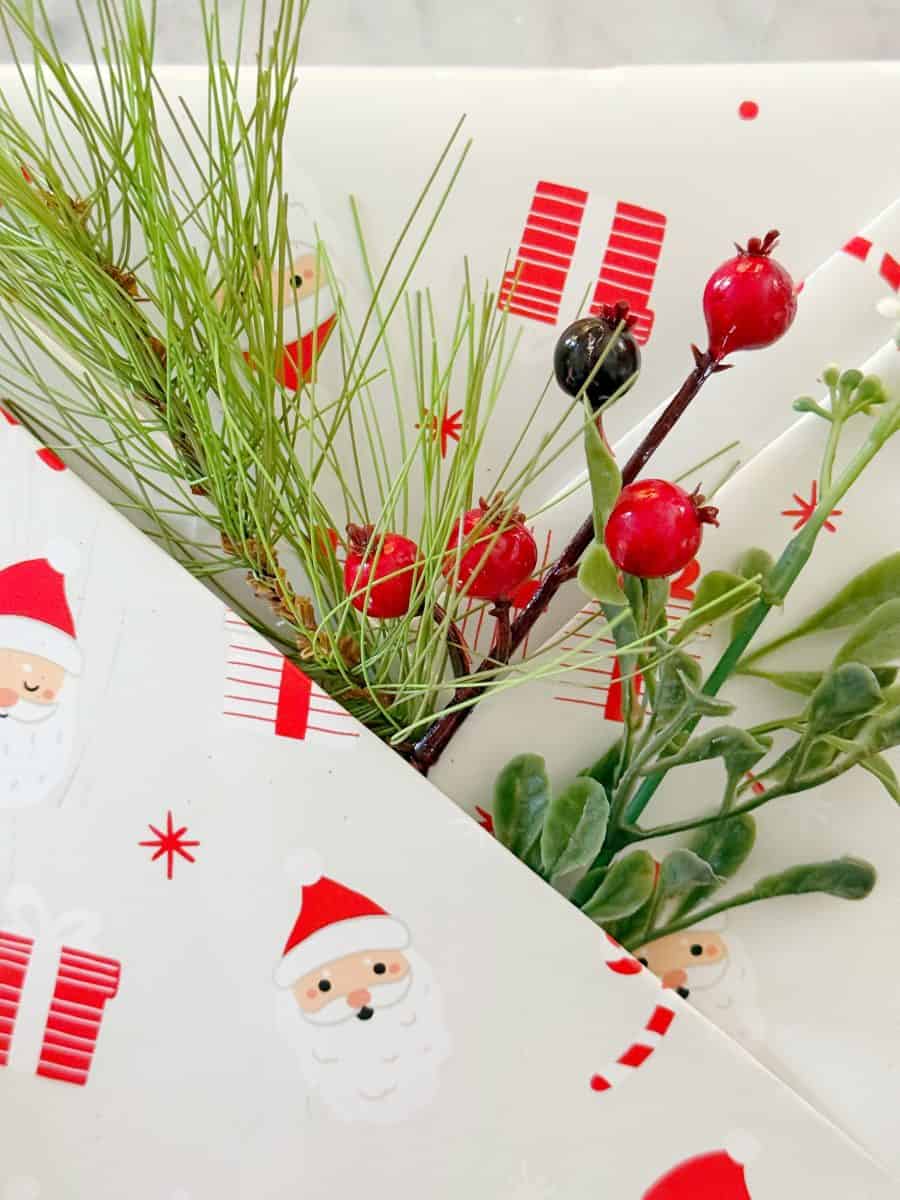
Here’s a close-up of the pockets.
They criss-cross, and I added two different types of greenery, along with berries, into the pocket.
There was also a nutcracker tag that told what type of book it was.
You could add a bookmark or a flat ornament, too.
It’s so easy to wrap, and here’s the step-by-step with pictures.
How To Gift Wrap A Book
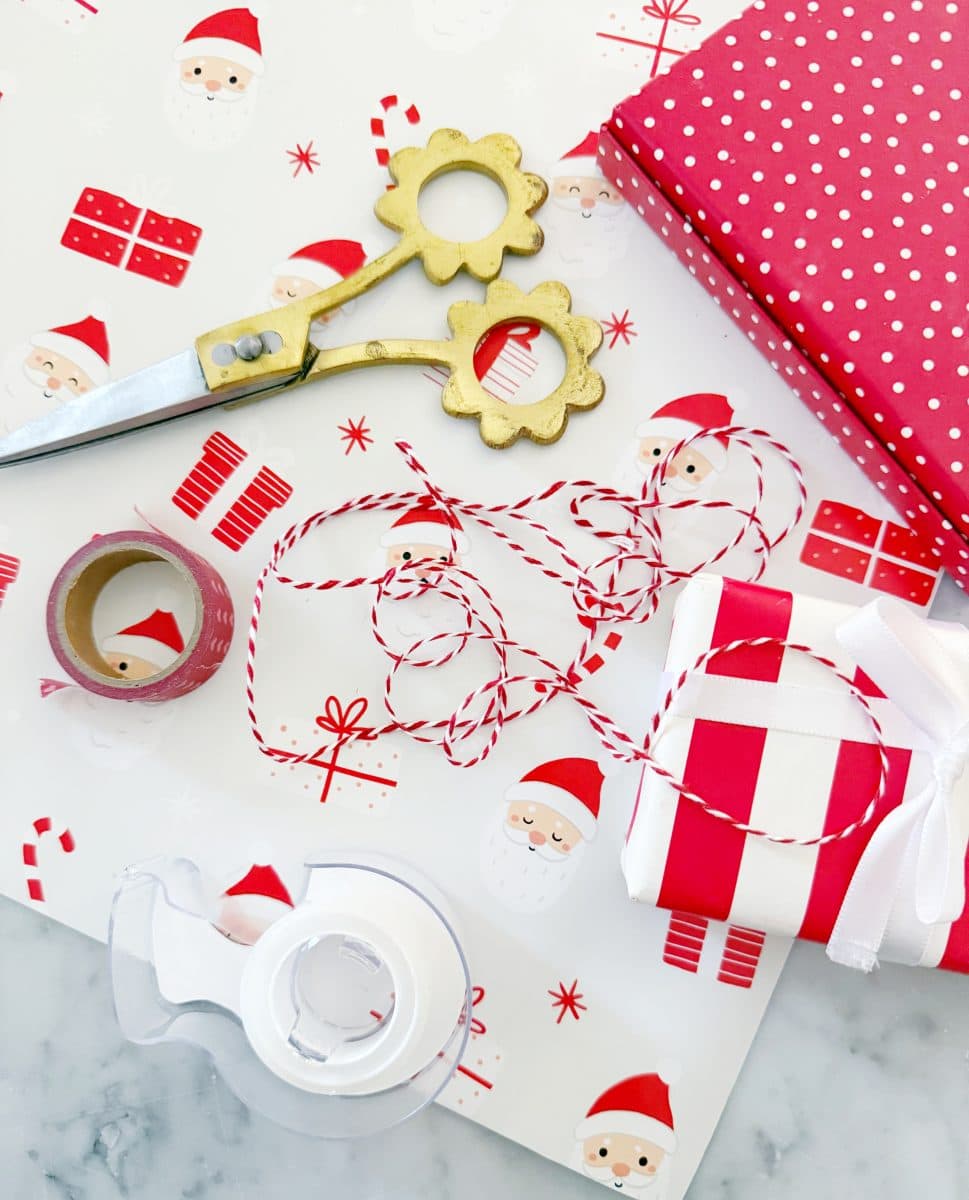
supplies
scissors
tape
wrapping paper
book
Step 1: Choose the book
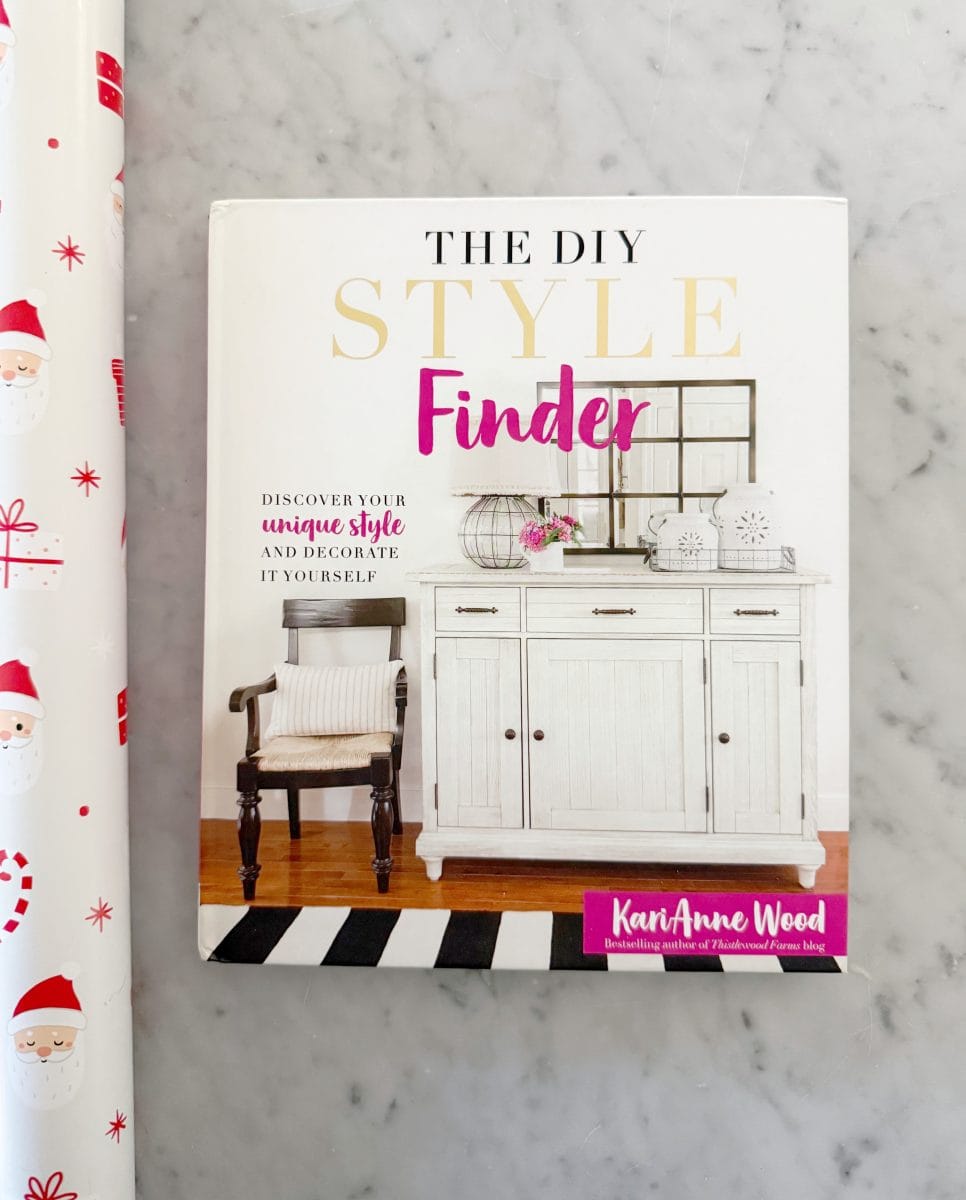
Here’s the book I chose for the book exchange.
It’s one of my decorating books called “The DIY Style Finder.” It’s all about finding your decorating style, and it has a quiz you can take to determine your style.
You can see it here.
I wrapped it with this sweet Santa paper. This type of wrapping works best if you choose thicker paper that holds its fold and doesn’t rip.
2. Cut the wrapping paper
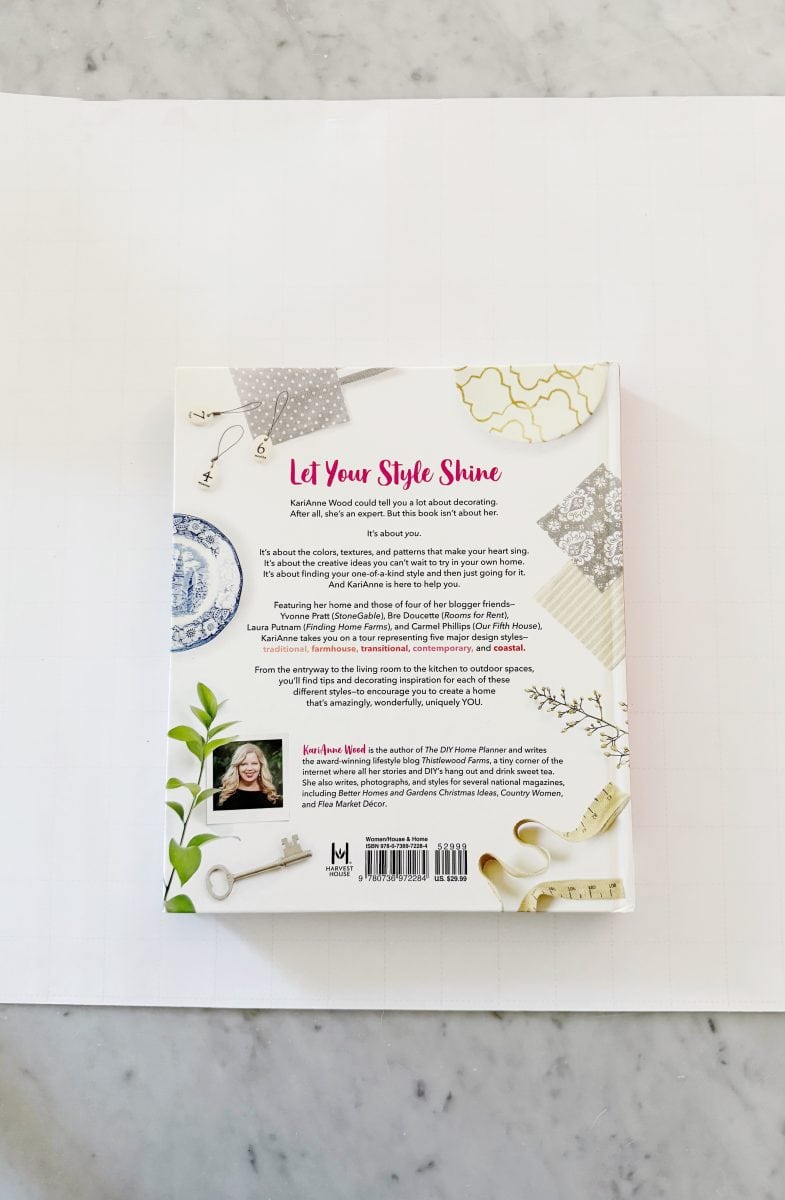
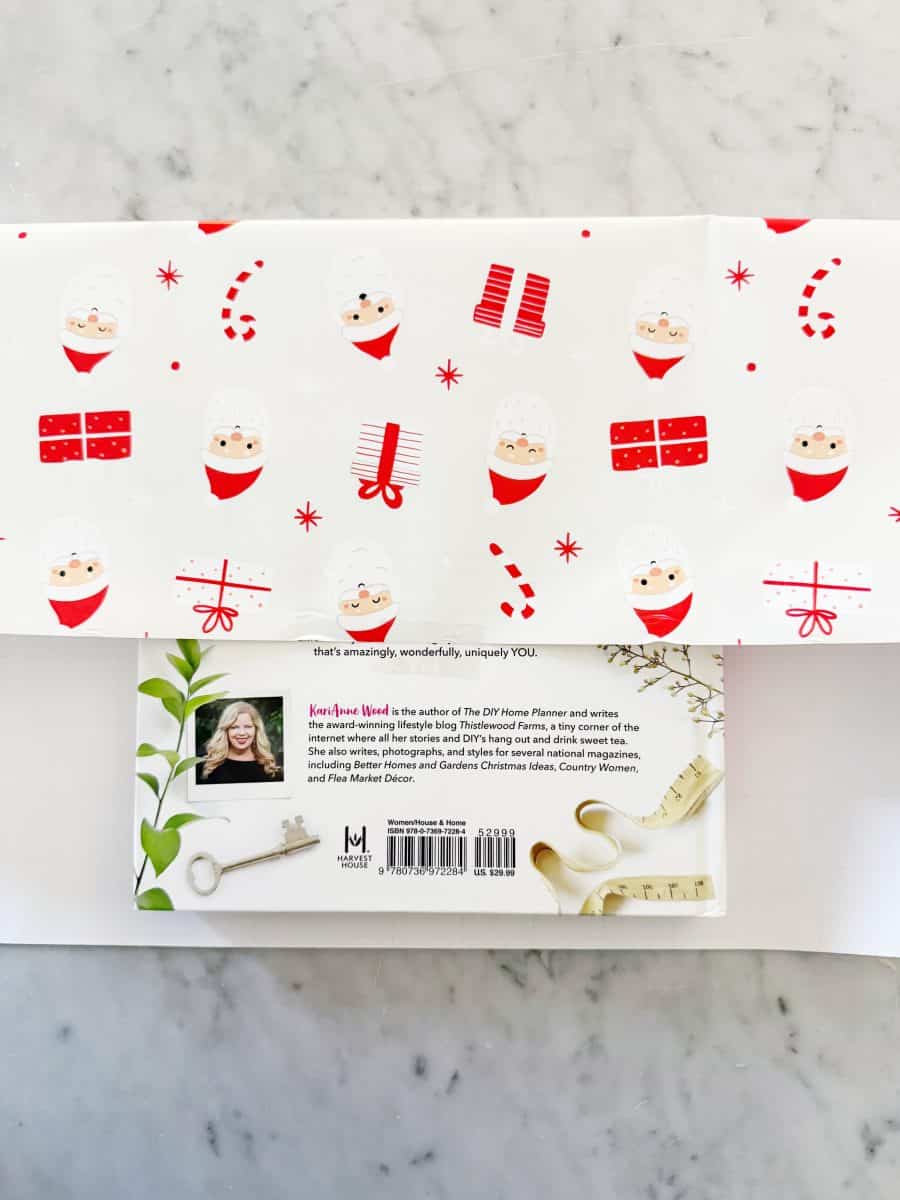
- Roll out your paper, pattern side down.
- Place the book on the top front side down.
- Cut the rectangle with enough space around the book to wrap it as if you were going to wrap it normally.
- Place the book towards the bottom of the wrapping paper with two or 3 inches (a little more than the width of the book) at the bottom.
- You want to make sure there’s enough wrapping paper at the top so when you fold the paper over, it reaches about halfway down the book.
(Does that make sense? I put that sentence.in there because my first inclination was to cut too much wrapping paper, and you really don’t need that much wrapping paper. You just need the standard amount of paper as if you were going to wrap it normally.)
3. Form a triangle on the side
- This is the trickiest part (and it’s not even really that tricky).
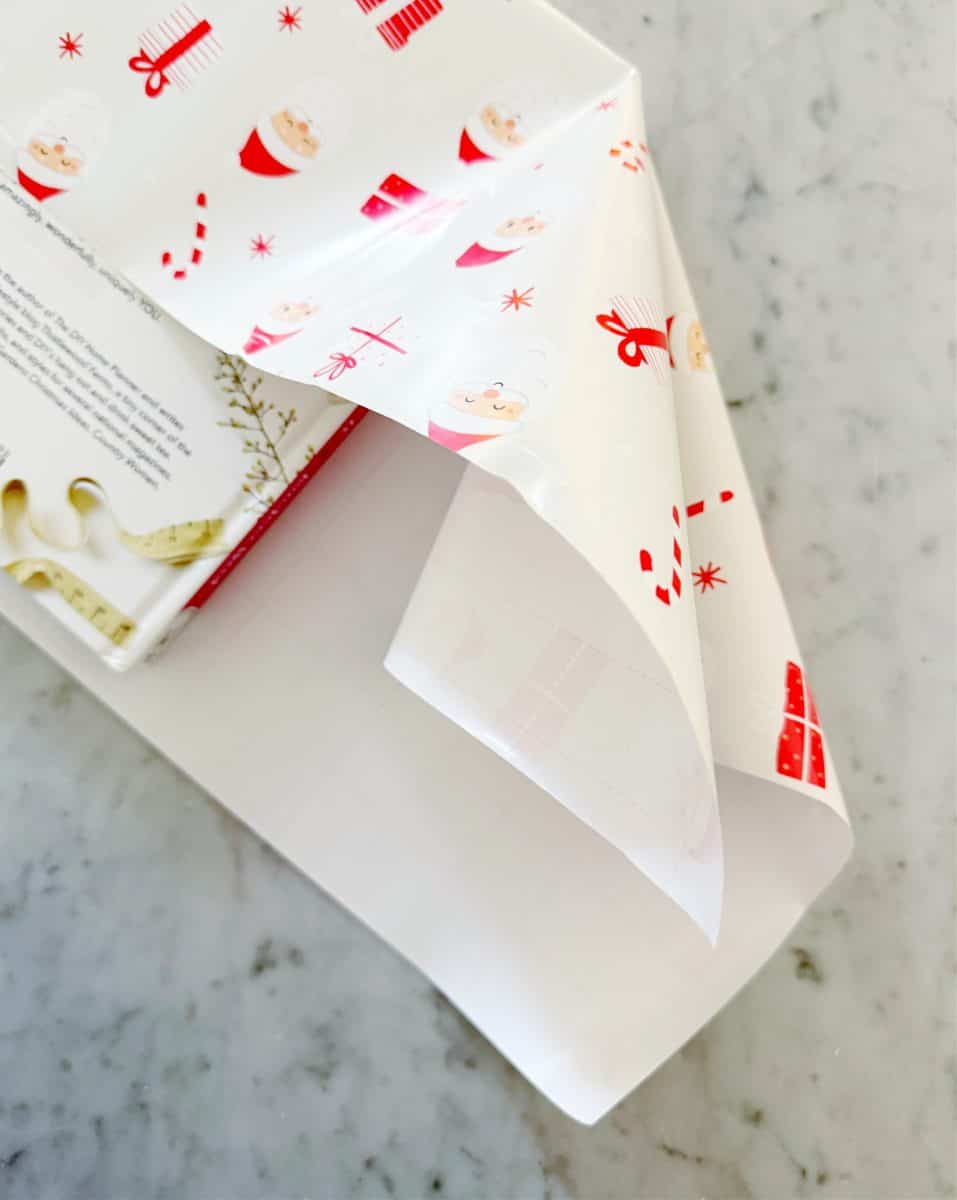
- You want to take the edge of the paper and fold it in half, so you create two triangles.
- You can see here how I folded the paper to start to create the triangles.
- Crease in place.
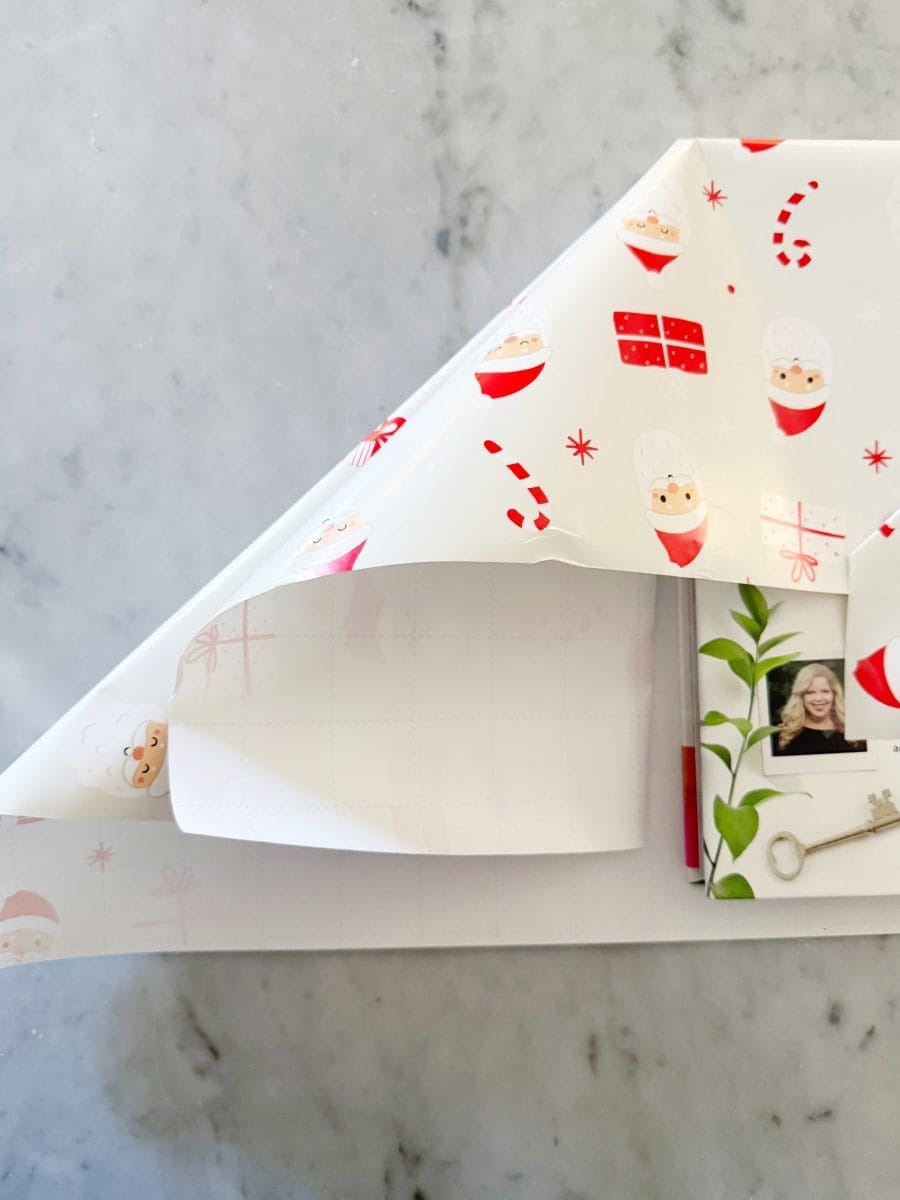
4. Repeat on the other side
- Now go to the other side and repeat the exact same process.
- Form two triangles on that side as well.
- Crease in place.
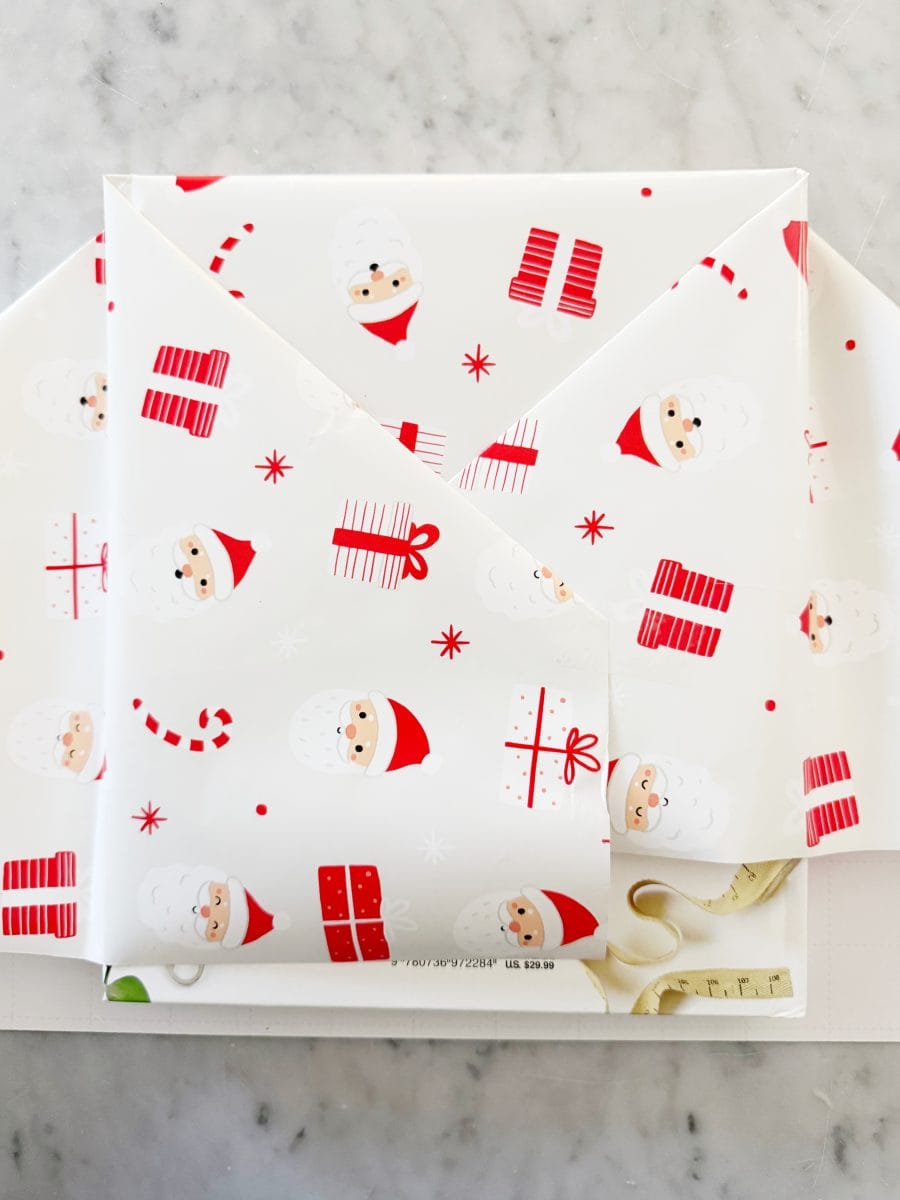
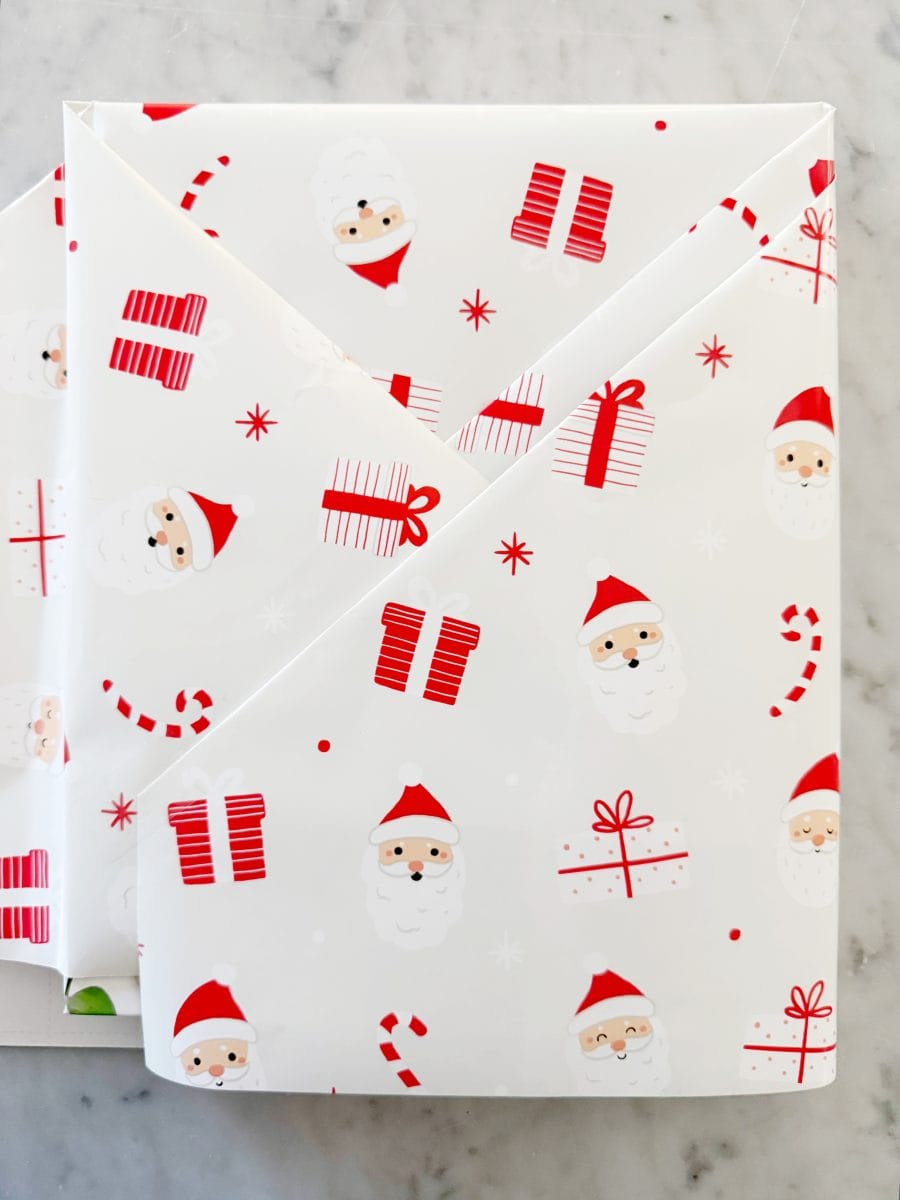
5. Fold your triangles over
- Now that you have formed your triangles, you want to start on the right side.
- Fold one triangle over.
- Crease in place.
- Then go to the left-hand side and fold that triangle over
- Crease in place.
- Go back to the right-hand side and fold your second triangle (make sure all of your triangles are overlapping to create the pockets).
- Grease in place.
- Then return to the left-hand side, increase the final triangle in place.
- Tape off all your triangles as you go.
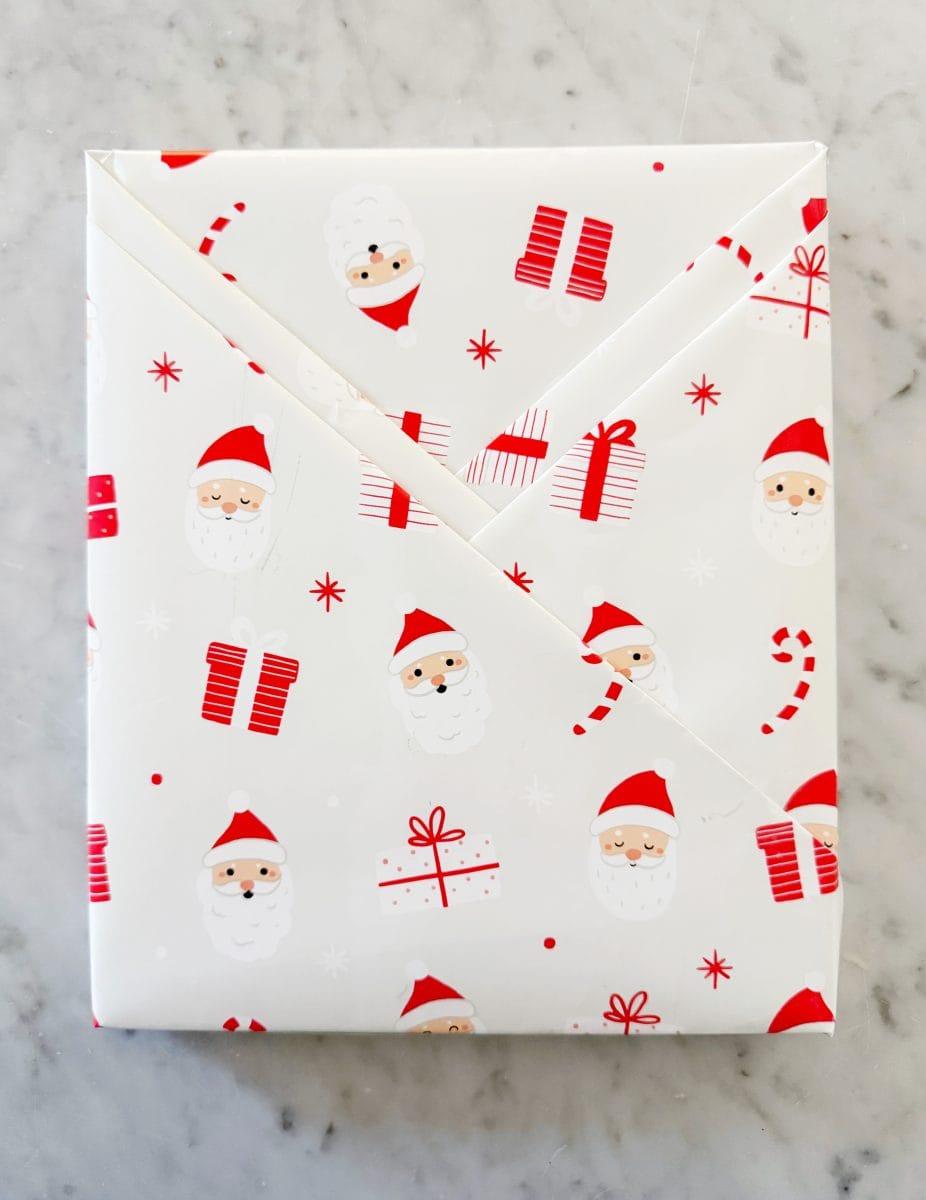
6. Tape the bottom of the book
- Lastly, tape the bottom of the book (the remaining 2 or 3 inches at the bottom).
- That’s it.
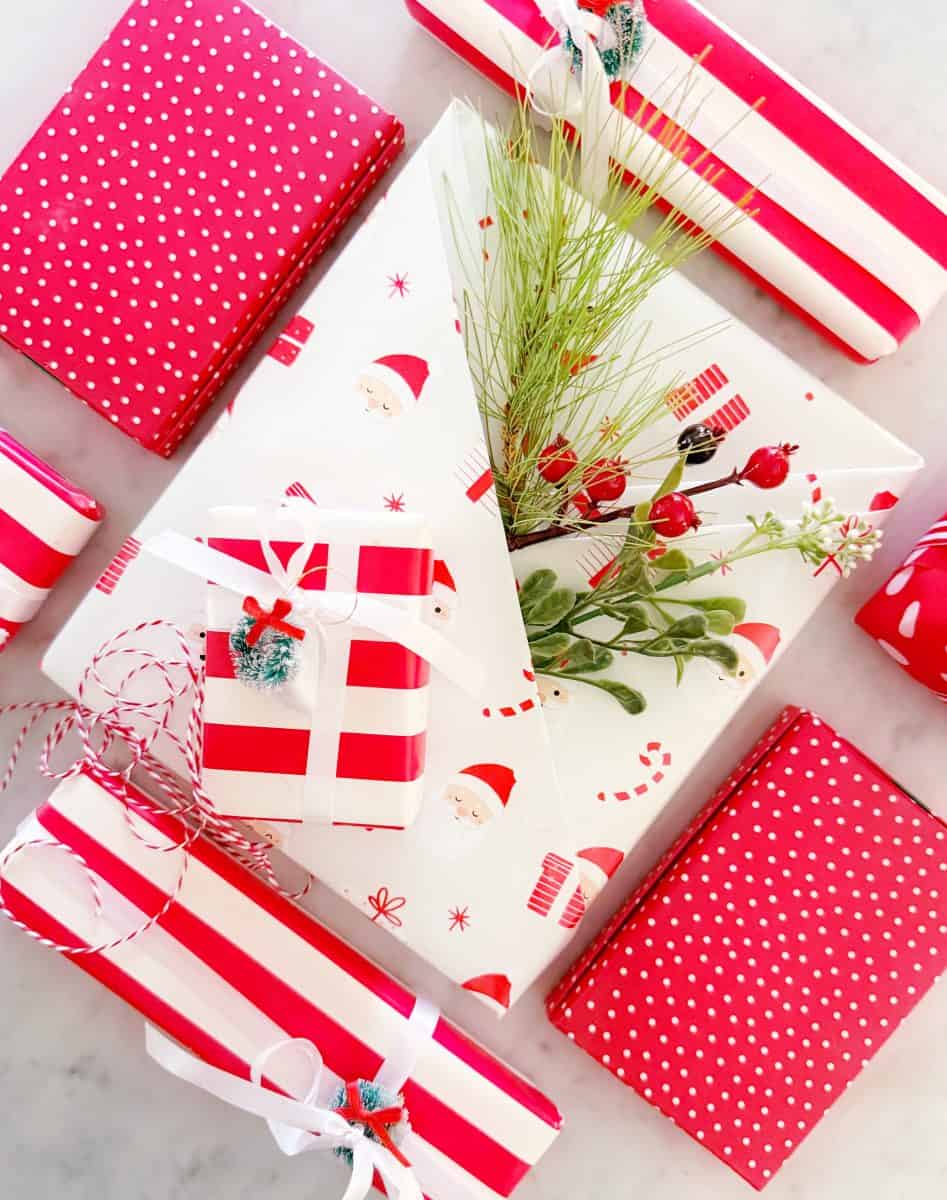
- Now you have a book wrapped with two sets of pockets to tuck all kinds of surprises into.
Isn’t that gift wrapping so easy?
It’s such a fun way to elevate a gift like a book.
And if you were wondering?
There was a whole lot of chatter about this book wrapping at our book club.
And guess what book I ended up with?
Can you even believe it?
The book I picked as book of the year for 2024 in a surprise book exchange is the book I ended up with.
That’s the amazing thing about books–they know a good reader when they see one.
PS If you are looking for suggestions for book club books? I have an entire list here.
disclosure: affiliate links are used in this post.


I saw a YouTube short video of this wrapping method, and loved it. Thanks for the directions! So much easier than following a video!
Very cute and clever!
What a cute idea! This is an all through the year gift wrap technique and you can wrap any style box or book with this. Big Hugs
GREAT book! ♥ And what a CUTE way to wrap it up. Love the paper too. Well done, KA.
Ok, now your speaking my language! 😀 Oh how I love to do a decorative gift wrap!! This looks so fun...I will copy for sure. Thank you for the inspiration, KariAnne. Blessings.❤️
Looks so pretty. Thank you for sharing.
I love this wrapping technique! I am not in a book club, but I do have a bestie who is an avid reader as am I - we exchange multiple books for birthdays, Christmas, and all through the year. (Don't tell anyone but I am just the tiniest bit competitive too 😂) Wait until she receives the next book from me wrapped like this! Thank you for the idea and the easy to follow instructions once again!
This is the cutest wrapping!!! I am going to try it this holiday season!! Thank you for sharing your technique!!
Loved the book wrap tip. I have wrapped four and more to come. I love books!
How cute! I love giving books for gifts and this is such a creative and pretty idea. Thanks for sharing!
Thank you for explaining this technique. I saw it on Instagram, but messed up. I’ll try your idea, which seems much easier. Thanks again and Merry Christmas 🎄.
I love that! Thanks for the instructions, you are so creative.